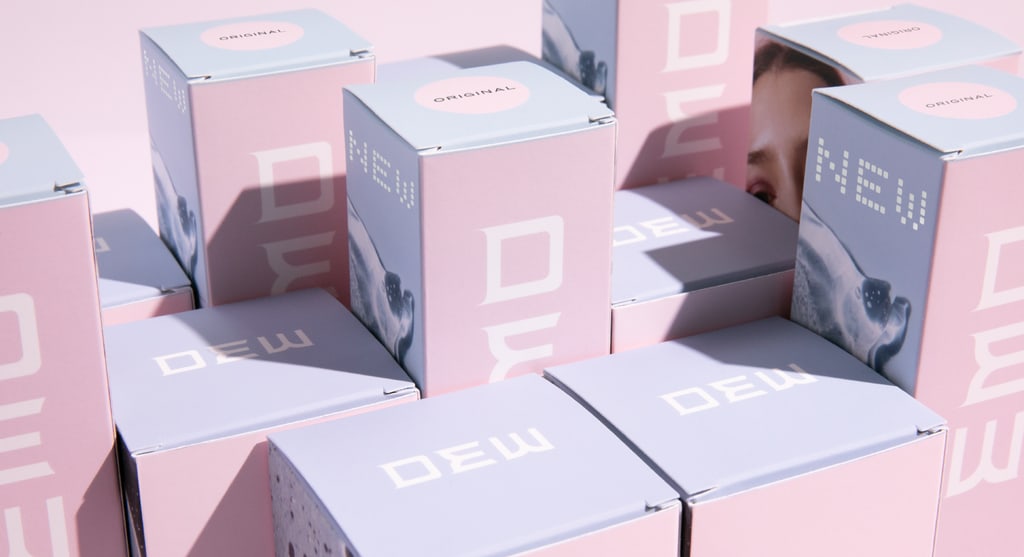
Getting the right packaging size starts with measuring your product accurately and allowing enough room for protective materials. Finding the perfect custom packaging size for your products helps protect your goods, lowers shipping costs and creates an unboxing experience that keeps customers coming back.
This custom packaging size guide covers the L x W x D sizing order, standard packaging dimensions, internal vs. external dimensions, clearance buffers and corrugated wall thickness, plus how to measure irregular products and flexible poly mailers.
- Standard packaging dimensions follow the Length x Width x Depth (L x W x D) order.
- Always use internal box dimensions when calculating the space your product needs.
- Add clearance buffers based on the protective material or void fill around your product.
- Use the bounding box method to measure the dimensions of irregular products.
- Flat poly mailers need depth addition formulas to expand properly around 3D items.
Length, width and depth (L x W x D)
Packaging dimensions generally follow Length x Width x Depth (L x W x D). Using this order helps manufacturers, designers and fulfillment teams interpret measurements consistently.
Measure from the box opening: The length is the longest side, the width is the shorter side and the depth (sometimes called height) runs from the opening to the bottom of the box.
Confusing width with depth is one of the most common errors small business owners make when ordering packaging, resulting in a box with the wrong proportions. For example, 10” x 6” x 4” is different from 10” x 4” x 6”, even though the same three measurements are used.
Once you’ve identified the product’s length, width and depth, use those measurements as the starting point for calculating the packaging size you need. Input those dimensions directly into custom design tools to generate suitable packaging sizes and types.

Internal vs. external dimensions and wall thickness
Product fit must always be calculated using internal dimensions rather than external shipping dimensions. Internal dimensions define the usable space inside the box whereas external dimensions are used by shipping carriers to calculate postal space and handling fees.
Corrugated wall thickness determines the difference between a box’s iusable internal space and external measurements. That thickness is classified by its flute profile, which refers to the corrugated layer between the outer material. The most common fluting options are:
- E-flute: Around 1.6 mm thick, it’s relatively thin and suitable for custom mailer boxes.
- B-flute: Around 3.2 mm thick, it’s sturdier, making it the standard choice for shipping boxes.
Wall thickness means external measurements will be larger than the usable space inside the box. That’s why measuring the outside of a box isn’t a reliable way to work out how much room there is your product. Start with the product and calculate the internal space required instead.
Measure your product first, taking protective material into consideration, then compare the space you need with the internal box dimensions provided by the supplier.
Clearance formulas, protective buffers and void fill
Placing a product inside a mailer box without protective materials can lead to damage during transit. Once you have your product measurements, add a clearance buffer to account for any protective materials, inserts or void fill you plan to use. This gives you the internal dimensions the packaging needs to accommodate both the product and its protective materials.

If your protective material adds the same thickness on every side, you can calculate the required internal dimensions with these formulas:
Internal Length = Maximum Product Length + 2(Buffer Thickness)
Internal Width = Maximum Product Width + 2(Buffer Thickness)
Internal Depth = Maximum Product Depth + 2(Buffer Thickness)

The right clearance buffer depends on how much space your protective materials take up:
- Tissue paper can be used for non-breakable lightweight items. It only requires a small clearance buffer (around 0.25”).
- Bubble wrap and crinkle paper is necessary for more fragile items such as ceramics or glass containers. These materials need more buffer around the product (0.5” to 1.0”).
- Protective foam, molded inserts or corner protection is necessary for electronics or high-value items. They can require significantly more clearance (1.0” to 2.0” buffer).
Avoid adding more clearance than you need. Choosing an oversized box creates unnecessary empty space and excessive void fill material, which can increase shipping costs. Dimensional weight is based on the package’s external length, width and height, so a bigger packaging size can have a cost as well as a material impact.
To account for tissue paper and card inserts, wrap your product as you plan to pack it, then measure the wrapped item before choosing the packaging or entering values in design tools.

How to measure soft or irregular products for packaging
To measure soft or oddly shaped items such as apparel, plush toys and ceramics, use the bounding box method. This technique imagines placing your item inside a rectangular prism to capture its spatial footprint.
Follow these steps for the bounding box method using a ruler or digital caliper:
- Place the item on a flat surface and push it against a wall corner.
- Position two flat objects, such as hardback books or wooden blocks, against the outermost points of the product.
- Measure the distance from the wall to the flat object to find the maximum length.
- Rotate the product and repeat the process to find the maximum width.
- Measure from the surface to the product’s highest point to find the maximum depth.
For soft goods like hoodies or knitted accessories, measure them folded or compressed if that is how they’ll be packed. For multi-product kits, arrange components in their final layout before measuring the outer bounding box.
Order packaging samples to test the product inside the packaging before placing a large order. This lets you check that your bounding box calculations are correct, and that the product fits with the clearance around it.
Poly mailer vs. rigid box sizing calculations
Flexible poly mailers and rigid boxes handle product volume differently. A rigid box keeps fixed internal dimensions, while a poly mailer expands around a 3D product, using some of its width and length to accommodate the item’s depth.
To calculate the required poly mailer size for a 3D object, use the following expansion formulas:
Required Mailer Width = Product Width + Product Depth + 1” allowance
Required Mailer Length = Product Length + Product Depth + 2” for flap closure
For example, the mailer calculation for a folded sweater measuring 10” x 8” x 2” would be:
- Mailer Width: 8” + 2” + 1” = 11”
- Mailer Length: 10” + 2” + 2” = 14”
Using flexible mailers or custom pouches for non-fragile and soft goods significantly reduces postal weight, empty space and packaging costs.
When deciding between flexible and rigid packaging, consider the product’s fragility, shape and dimensions. Compare different types of packaging and packaging box types to find the best fit for your product.

How to choose the right VistaPrint box size
To measure a product for custom packaging, measure the maximum length, width and depth (L x W x D), then add internal clearance buffers based on your void fill. For tissue paper, add 0.25”; for bubble wrap or heavy padding, add 0.5” to 2.0” to ensure a proper fit.
Once you’ve calculated the internal space your product needs, align those measurements with the packaging sizes available on VistaPrint. Compare the dimensions carefully and make sure there’s enough room for any protective materials to prevents sizing mistakes.
Follow these steps when choosing VistaPrint packaging sizes:
- Measure your product’s maximum length, width and depth using a ruler or caliper.
- Add the space needed for tissue, bubble wrap, inserts or other protective materials.
- Compare your required internal dimensions with the packaging sizes available.
- Choose the smallest size that comfortably fits the product and its protective packaging.
- If you’re unsure about the fit, order a sample before committing to a larger quantity.
Packaging measurement checklist and final steps
Before submitting your custom packaging order, complete this quick measurement check:
- Dimensions order: Check that your measurements follow the L x W x D sequence.
- Internal dimensions: Base dimensions on the usable space inside the box, not its outside measurements.
- Clearance: Add buffer for tissue, inserts, crinkle paper or other protective materials.
- Wall thickness: Allow for the difference between internal and external dimensions when using corrugated packaging.
- Irregular products: Use the bounding box method to measure non-rectangular products’ maximum length, width and depth.
- Flexible poly mailers: Allow extra width and length for the depth of 3D products.
- Order samples: Test your product inside the packaging before placing a large order.
Explore creative box design ideas to align your packaging with your brand identity.

Choosing the right packaging size
Accurate packaging measurements involves measuring a product at its maximum dimensions, allowing enough space for protective materials and aligning those measurements with the internal dimensions of your chosen packaging. For irregular products or flexible mailers, use the relevant equations, but the same principle applies: measure the space the packed product will actually need before ordering. Exact internal measurements ensure correct fitting, save costs and streamline fulfillment.
Packaging size FAQs
What if my product falls between two packaging sizes?
Choose the smallest option that comfortably fits the product plus any protective materials. If the fit looks close, test a packaging sample before placing a large order.
Do different products need different packaging sizes?
They can. If your products vary significantly in size or shape, measure each product separately rather than assuming one packaging size will fit the full range.
Can one packaging size work for several products?
Yes, if each product fits securely with the appropriate amount of protective material. Using one size across several products can simplify packing and reduce order costs, but try to avoid using boxes that leave empty space around smaller items.
Should single-item and multi-item orders use the same packaging?
Multi-item orders may need a larger box or a different arrangement, so measure the complete packed bundle rather than sizing from one product alone.

