Do your customers love when you give away free swag at events or with certain purchases? (Of course they do.) What you might not realize is that your most loyal customers would likely purchase special merch from you — creating both more personal engagement opportunities with your brand but also an additional source of revenue.
If you’re looking to create and sell merchandise that captures the essence of your brand, there are virtually endless options out there. But before you get started, you deserve a step-by-step guide that covers how to make merch that both pleases fans and generates a profit.
This guide will walk you through creating merch that achieves your marketing and revenue goals and give you a reliable process for making branded merch decisions in the future.
1. Set goals and timelines.
As you learn how to make your own merch, remember that your goals should drive every buying decision. Your goals dictate everything from product type and necessary margins to ordering timelines.
For instance, say you’re a local coffee shop, and your customers have begged for a reusable coffee tumbler. Product quality here is paramount, so you’ll likely spend more per piece and be less sensitive to production times, given that you’re selling the item in-store. However, say you’re a local nonprofit raising money for a project, and you’ll only sell your coffee tumbler at a single event in three weeks. In this case, you’ll need to balance production time, per-item cost and quality to find products that meet your needs.
Take action: Identify why you’re selling merch, where it will be sold and any production timelines you’ll need to meet.
2. Identify potential merch.
Now comes the fun part: exploring merch ideas. Even if you know what you want to sell, you need to find just the right items that align with your brand and goals.
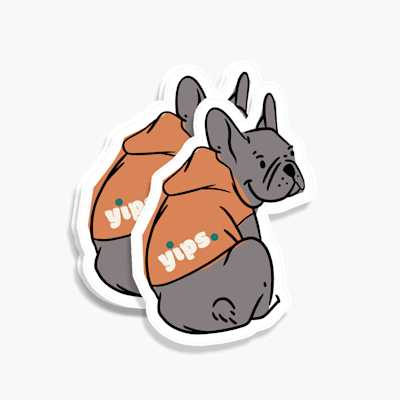
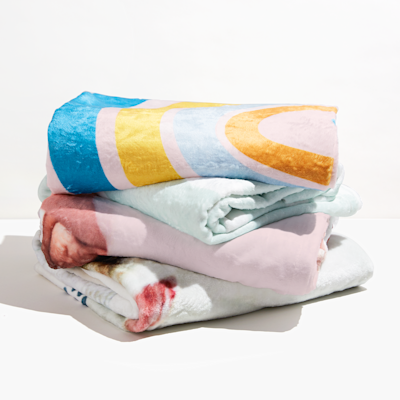
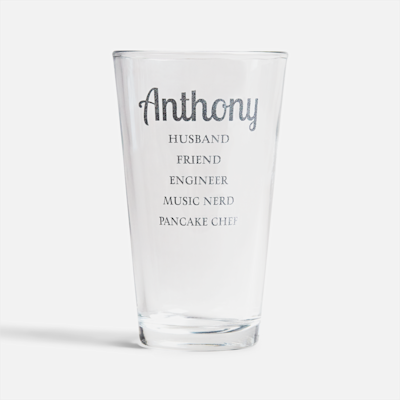
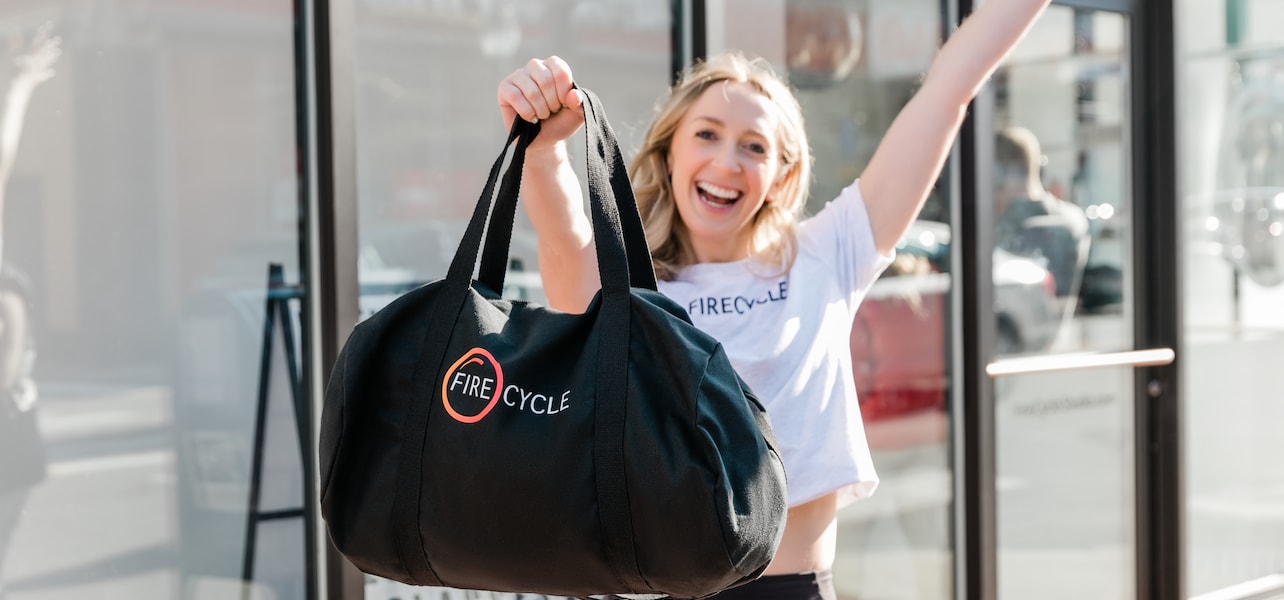
As you explore your product options and trends, look for items that visually represent your brand, perhaps with a complementary style or color theme. Consider how you might creatively add your logo, brand colors or a catchy slogan to everyday items like T-shirts, tote bags and pens. If you’re selling at an event, look for products that match the season and event theme and might enhance an attendee’s experience. For instance, an insulated water bottle could be an excellent choice for an outdoor event in the thick of summer. In cooler temperatures, a branded sweatshirt could fly off the shelves at a 10K race. Your ideal merch for any purpose will fit your brand and the selling venue equally.
Take action: As you research merch, list three potential products for each item type. Having options will work in your favor, especially in the next step.

3. Calculate your markup.
Merch should make you money. Finding merch that gives you room for a reasonable markup is important.
The price you charge can directly reflect your brand and company ideals. For example, an upscale coffee house might want a luxury wood-grain coffee tumbler and have customers willing to pay a premium price. On the other hand, a café known for affordable prices might have customers who want a more budget-friendly option.
To find the margin that makes the most sense, it helps to work backward and begin with the price you plan on charging customers. For instance, you’d need to find items with the following per-item price if you want to sell that budget-friendly tumbler for $15:
- $10 at 50% margin = $15
- $10.75 at 40% margin = $15
- $11.55 at 30% margin = $15
Take action: Remember to include shipping costs — both from the vendor and to customers if you’re selling online — in your total item cost pre-markup.
4. Order samples.
One often overlooked step in any merch guide is ordering sample products. Getting a hands-on look at any product that will ultimately bear your branding is important. With an actual sample product, you can compare quality and feel before you place a full order and get exactly the standard of product you and your customers expect — and without the guesswork.
Take action: To save on costs, narrow down your options to your top two choices for each product.
5. Place your order.
After finalizing your product choices, it’s time to order. To make the ordering process as seamless as possible, here’s a list of criteria you’ll need:
- Product
- Quantity
- Colors
- Sizing (for apparel)
- Artwork
When you place your order, note the production time before you click “buy” to ensure that the turnaround matches your needs. You can always update your order to a different product with a better production timeline.
Take action: Before finalizing your order, take note of pricing breaks and quantities. Increasing or decreasing your order by a few units could score substantial savings and increase your margins.
VistaPrint Tip
Great artwork makes great merch. Be sure to have artwork/a custom design that’s at least 300 dpi (dots per inch, or the resolution of your image) and in an accepted file format like .jpg, .png or .psd.

6. Display and promote.
To close out, there’s one more bit of fun: deciding how you’ll promote and display your merch. If you’re selling in-store, consider displays in high-traffic areas near or immediately behind the register or by windows. Also, consider highly visible display options — such as shelves, hangers and clothing racks — for selling at events versus on-table or folded options. And always remember the impact a well-timed email or social post can have. For example, consider an exclusive merch launch event for your best customers or an email blast that touts specialty merch only available at an upcoming event.
When it comes to merch promotion and display, always consider the three “be” directives: be seen (with high-visibility displays), be heard (let your customers know what merch had landed) and be accessible (let people know how to get it and how much it costs).
Now you have a six-step guide for how to make merch that aligns with your brand and revenue goals. And from here, you’re empowered with a logical process that can make every piece of merch on your shelves a hit — for both you and your customers.